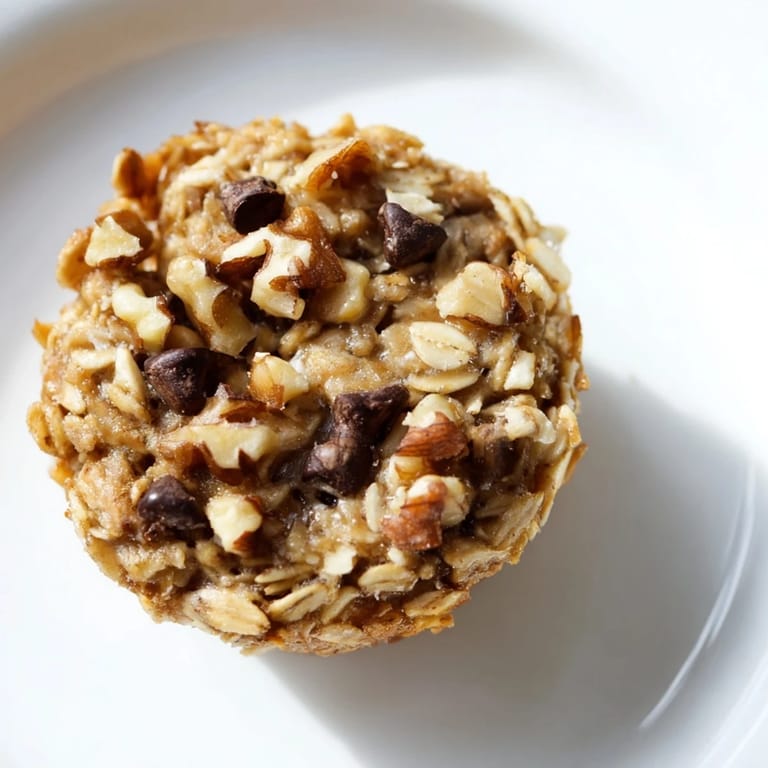
 Pin It
 I discovered these baked oatmeal cups during one of those mornings when I was rushing out the door, already late, and realized I hadn't eaten anything. My roommate had left a single one on the counter the night before—golden, soft, wrapped in foil—and I grabbed it on impulse. That first bite changed how I thought about breakfast prep. It was chewy and substantial, not dry like some baked goods, and something about the cinnamon warmth made the whole day feel intentional, even though I was moving at a sprint.
I made these for a group of friends who were staying over, and someone asked if I'd bought them from a bakery. That moment—when they realized I'd made them in a regular muffin tin with ingredients from my pantry—was the kind of small kitchen victory that stays with you. After that, every batch I made felt like I was sharing something that mattered.
Ingredients
- Old-fashioned rolled oats: The backbone of these cups; they stay soft and chewy when baked, not chalky like steel-cut would be in this recipe.
- Light brown sugar: Adds moisture and that subtle caramel note that makes people ask what the secret ingredient is.
- Eggs: They're the binder that keeps everything together and gives the cups their tender crumb.
- Milk: Use whatever you have on hand—dairy, oat, almond, coconut—the cups adapt beautifully.
- Applesauce: A quiet helper that adds moisture and natural sweetness without making them cake-like.
- Melted coconut oil or butter: Creates richness and helps everything bind; coconut oil is my default because the flavor complements the oats perfectly.
- Baking powder: A gentle lift that keeps the texture light instead of dense.
- Cinnamon: The flavor note that somehow makes people think you spent hours on these.
- Vanilla extract: Just a teaspoon pulls everything together into something that tastes intentional.
- Optional mix-ins: Berries, chocolate chips, nuts—add up to a cup total; frozen berries are my secret because they don't water down the batter.
Tired of Takeout? 🥡
Get 10 meals you can make faster than delivery arrives. Seriously.
One email. No spam. Unsubscribe anytime.
Instructions
- Prep your muffin tin:
- Heat your oven to 350°F and line a 12-cup muffin tin with paper liners or give it a quick spray of nonstick. Paper liners make cleanup effortless and the cups peel away perfectly when cooled.
- Mix the dry ingredients:
- In a large bowl, whisk together the oats, brown sugar, baking powder, cinnamon, and salt until everything is evenly distributed. This is where you're creating the foundation, so take a breath and do it properly.
- Combine the wet ingredients:
- In another bowl, whisk the eggs, milk, applesauce, melted coconut oil or butter, and vanilla until smooth and pale. Don't skip the whisking—it aerates the mixture and helps everything blend seamlessly.
- Bring it all together:
- Pour the wet mixture into the dry ingredients and stir until just combined; a few small lumps are fine, overmixing makes them tough. This moment is crucial—stop as soon as you don't see any dry oats.
- Add your mix-ins:
- Fold in whatever mix-ins you're using, being gentle so you don't crush berries or distribute chocolate chips unevenly. If you're using frozen berries, don't thaw them—they'll stay intact and release their flavor as they bake.
- Fill the muffin tin:
- Divide the batter evenly among the cups, filling each almost to the top; an ice cream scoop makes this almost meditative. If you have leftover batter, press it into any half-full cups rather than leaving some sparse.
- Bake until golden:
- Slide the tin into the oven for 23–27 minutes, until the tops are golden and set but still have a slight softness to them. You'll smell the cinnamon intensify as they bake, which is your signal that they're close.
- Cool with patience:
- Let them sit in the pan for 5 minutes before turning them out onto a wire rack to cool completely. This resting time lets them firm up just enough to hold their shape without being fragile.
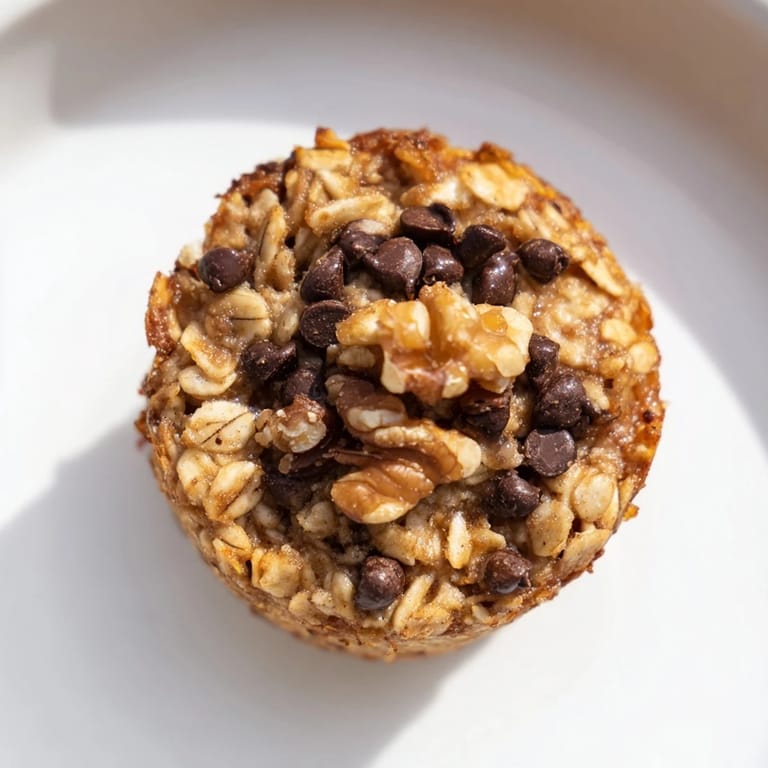 Pin It
 There's something grounding about making a batch of these on a quiet Sunday afternoon and watching your fridge fill up with little containers of breakfast sorted and ready. It transformed my mornings from chaotic to intentional, and somehow that small thing—reaching for something I'd made myself—started mattering more than I expected.
Storage and Keeping
These cups live happily in an airtight container in the fridge for up to five days, and they actually improve slightly on day two as the flavors settle. If you're thinking further ahead, they freeze beautifully for two months; just thaw one overnight in the fridge or warm it straight from frozen in the microwave for about a minute and a half. The applesauce keeps them surprisingly moist even after days in storage, which was a pleasant discovery that I didn't expect.
Flavor Variations to Try
The base recipe is forgiving enough to experiment with, and I've found myself chasing different combinations depending on the season or my mood. In fall, I add nutmeg and cardamom alongside the cinnamon and swap the berries for dried cranberries and pecans. Summer mornings call for fresh blueberries with lemon zest stirred into the batter, which sounds simple but transforms the entire taste. The beauty of this recipe is that you can make the same base and customize three or four cups differently, so each person in your household can have their own version waiting.
Making Them Work for Your Dietary Needs
These cups are naturally flexible, which I appreciate about them. For a vegan version, swap the eggs for flax eggs (2 tablespoons ground flaxseed mixed with 5 tablespoons water, let sit for five minutes), use plant-based milk and coconut oil, and you lose nothing in texture or flavor. If gluten is a concern, certified gluten-free oats are a straightforward swap that I've tested many times. The recipe adapts gracefully to most dietary restrictions without requiring a complete rethink, which is rare and valuable.
- Flax eggs work perfectly and honestly might even improve the texture slightly because they don't brown as easily as regular eggs.
- Certified gluten-free oats taste identical in this recipe, so don't hesitate to use them if you need to.
- Nut-free versions work beautifully with dried fruit, coconut flakes, or seeds as your mix-in instead.
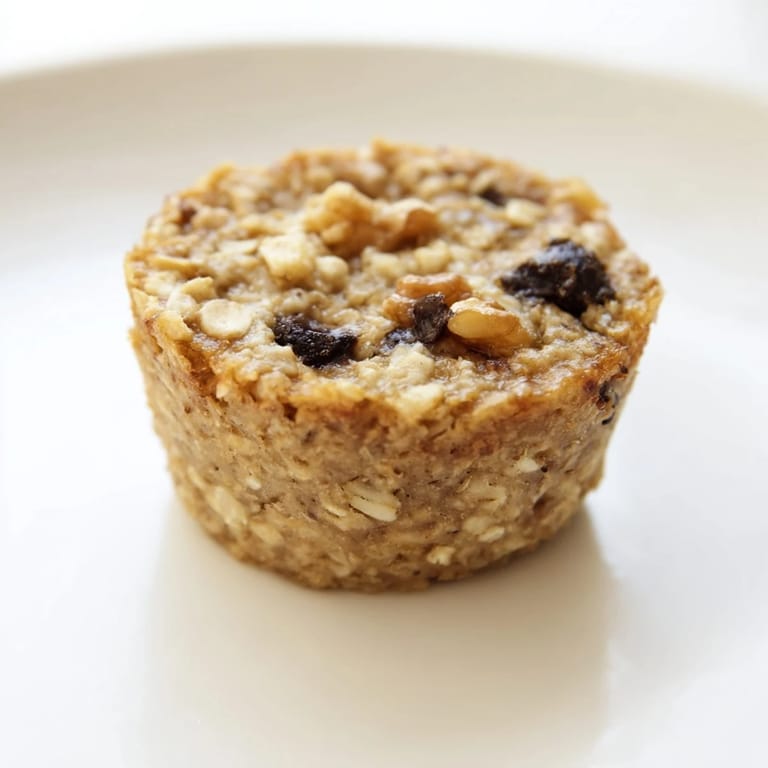 Pin It
 Making these has become one of those small rituals that makes the everyday feel a little more put-together. Grab one on your way out, and you've already chosen yourself.
Your Questions Answered
- → How do I store baked oatmeal cups?
Store them in an airtight container in the refrigerator for up to 5 days or freeze for up to 2 months. Warm briefly before serving for best texture.
- → Can I make these oatmeal cups vegan?
Yes, substitute eggs with flax eggs made from ground flaxseed and water, and use plant-based milk and oil instead of dairy.
- → What mix-ins work best for these cups?
Fresh or frozen berries, mini chocolate chips, chopped nuts, raisins, or dried cranberries all add flavor and texture.
- → Can I use gluten-free oats in the cups?
Absolutely. Certified gluten-free rolled oats ensure these oatmeal cups are safe for gluten-sensitive diets.
- → What spices can I add for variety?
Try nutmeg, cardamom, or extra cinnamon to enhance the flavor profile according to your taste preferences.