 Pin It
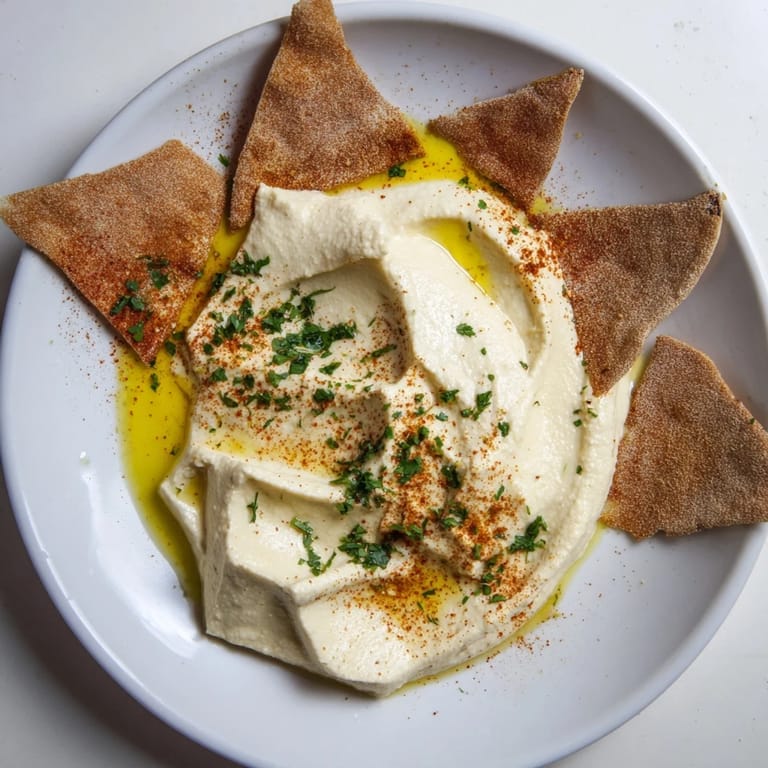
 I discovered this dish during a late afternoon in my kitchen when the light was hitting the counter just right, and I found myself staring at a can of chickpeas thinking about all the times I'd eaten hummus without really *seeing* it. Something about the word Sahara made me want to play with it, to shape it, to make it look like something you'd find in a desert landscape instead of just spooning it into a bowl like everyone else does. The pita chips came next, cut into those irregular triangles that somehow reminded me of sand dunes rolling across a platter, and suddenly what started as a practical appetizer idea became something that made people smile the moment they saw it.
The first time I made this for friends, someone asked if I'd hired a caterer, which made me laugh because I was still wearing my regular apron with a smudge of tahini on it. But there's something about taking the time to shape the hummus into actual mounds instead of just spreading it flat that changes how people experience it—it becomes something you're meant to admire before you eat it, and that moment of anticipation makes everything taste better.
Ingredients
- Chickpeas (1 can, 15 oz): These are the foundation of your hummus, and rinsing them well makes a surprising difference in the final texture and flavor.
- Tahini (3 tbsp): This sesame paste is non-negotiable if you want that authentic, velvety richness that makes people keep coming back for more.
- Fresh lemon juice (2 tbsp): Never use bottled here; the brightness of fresh lemon is what cuts through the richness and makes you want another bite.
- Extra-virgin olive oil (2 tbsp plus more for drizzling): This is where you can taste the difference between good and great—splurge a little on a bottle you actually enjoy.
- Garlic clove (1, minced): One clove is enough; too much garlic overpowers the delicate flavor of the chickpeas and tahini.
- Ground cumin (1/2 tsp): It's that subtle warmth that makes people ask what spice you used, even though they can't quite name it.
- Fine sea salt (1/2 tsp): Taste as you go; you might need more depending on your tahini and the saltiness of your canned chickpeas.
- Cold water (2–3 tbsp): Add this slowly to control the texture—thick and luxurious beats runny every single time.
- Pita breads (4 large): Cut them into those irregular triangles to mimic dunes; the imperfection is what makes them look intentional.
- Olive oil for chips (2 tbsp): This light brush is all you need to get them golden and crispy without tasting greasy.
- Smoked paprika and ground cumin (1/2 tsp and 1/4 tsp): These give the chips color and depth, making them taste like they came from somewhere special.
- Sumac or sweet paprika for garnish: A pinch of this dusted on top looks elegant and adds a subtle tartness that lifts the whole dish.
Tired of Takeout? 🥡
Get 10 meals you can make faster than delivery arrives. Seriously.
One email. No spam. Unsubscribe anytime.
Instructions
- Set your stage:
- Preheat the oven to 375°F and line a baking sheet with parchment paper so your chips will release cleanly and you won't spend time scraping.
- Cut those dunes:
- Take each pita bread and cut it into irregular, curved triangles—think of them as sand formations, not geometric shapes. Imperfection here is your friend because it looks more intentional.
- Oil and season:
- Lightly brush both sides of each triangle with olive oil, then sprinkle them generously with smoked paprika, ground cumin, and salt. The oil helps the seasoning stick and creates that crispy exterior.
- Bake until golden:
- Spread them in a single layer and bake for 8–10 minutes, turning them halfway through so they brown evenly. You'll know they're ready when they're crispy enough to snap and golden enough to look like they've been kissed by desert sun.
- Build your hummus:
- While the chips are baking, combine your chickpeas, tahini, lemon juice, olive oil, minced garlic, cumin, and salt in a food processor. Blend until it's completely smooth—this takes longer than you think, usually about 2–3 minutes of continuous blending.
- Adjust the texture:
- Add cold water one tablespoon at a time while the processor is running, stopping when you reach that creamy, spoonable consistency. Taste it and adjust the salt or lemon juice if needed.
- Shape your landscape:
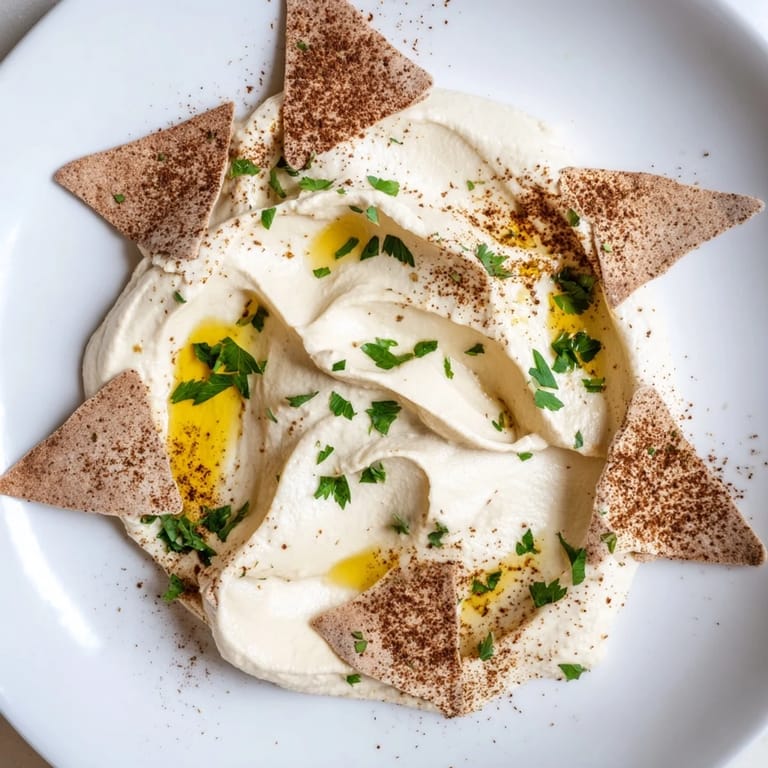
- Once the chips have cooled, spoon or spatula the hummus onto your serving platter in smooth, undulating mounds. Use the back of the spoon to create gentle curves and peaks that actually look like sand dunes.
- Final touches:
- Drizzle olive oil over and around the hummus mounds, dust with a pinch of sumac or sweet paprika, and scatter fresh parsley if you have it. Arrange the cooled pita chips around the hummus like they're cascading down dunes.
 Pin It
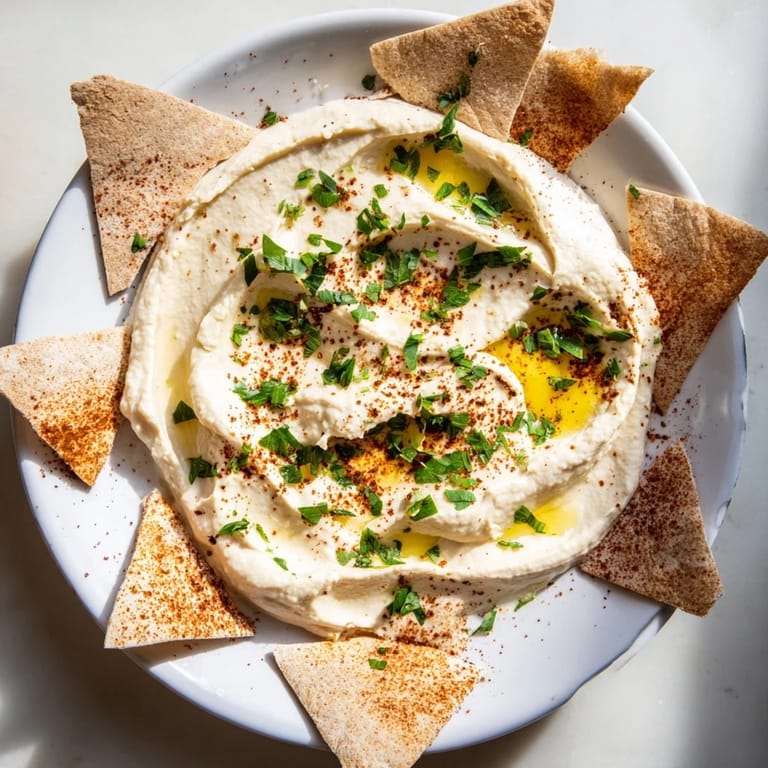
 There's a moment when you finish plating this that feels almost ceremonial—stepping back to look at what you've created, seeing those smooth mounds catching the light, knowing someone's about to experience this as much with their eyes as their taste buds. That's when appetizers stop being just food and become an invitation into your kitchen.
The Magic of Texture
What makes this appetizer work is the contrast between the cool, creamy hummus and those warm, crispy chips. I learned this the hard way by serving both at room temperature once, and it felt flat. Now I always make sure the chips are still slightly warm when they hit the platter, and if there's any time lag, I'll quickly re-crisp them in a 300°F oven for a minute. The textural play is where the real pleasure lives in this dish, not just in the flavors themselves.
Why Hummus Deserves Better Plating
Hummus gets pushed around a lot—flattened into bowls, drizzled with oil in a hurry, treated like an afterthought. But when you take five minutes to actually shape it, to think about how light hits it on the platter, it transforms from something functional into something guests genuinely remember. I started doing this after watching a chef at a market simply refuse to let hummus be ordinary, and it changed how I think about even the simplest dishes. Now I shape everything, because form and substance are partners, not competitors.
Serving and Storage Wisdom
Make the hummus up to two days ahead if you want to lighten your load on entertaining day; it actually deepens in flavor as it sits. The chips are best made no more than a few hours before serving, and if they start to soften, a quick two-minute refresh in a 375°F oven brings them right back. You can serve this with sliced cucumbers and carrots for something lighter, or pair it with crudités and olives if you want to build a more substantial spread.
- Store leftover hummus in an airtight container in the refrigerator for up to four days.
- Keep the chips in an airtight container separate from the hummus so they stay crispy.
- If you're prepping ahead for guests, shape the hummus just before they arrive so it looks freshly made and unmarred.
 Pin It
 This dish proved to me that sometimes the simplest ingredients just need a little intentionality and a willingness to play. Serve it at your next gathering and watch how quickly people stop talking to eat it.
Your Questions Answered
- → How can I achieve a smooth hummus texture?
Use a food processor to blend chickpeas with tahini, lemon juice, olive oil, garlic, and cold water gradually until creamy and silky.
- → What spices enhance the pita chips’ flavor?
Smoked paprika, ground cumin, and sea salt add a warm, earthy layer that complements the hummus.
- → Can I make gluten-free pita chips?
Yes, swap regular pita with gluten-free pita or crackers to accommodate dietary needs without sacrificing crunch.
- → How should the hummus be shaped for presentation?
Use a spoon or offset spatula to create smooth, undulating mounds that resemble desert dunes for a whimsical effect.
- → What garnishes work best with this dish?
Drizzle extra virgin olive oil, dust with sumac or sweet paprika, and add fresh parsley leaves for color and flavor balance.